
GoCampingAmerica.com | Posted March
3rd, 2017
Spring Cleaning Tips for Your
RV
Happy Camper Blog
 It’s time to grab your favorite cleaning products and give
your RV a good spring cleaning. While you’re at it, throw open the windows to
bring in plenty of fresh air. Here are some tips for tackling the
job:
1. Clean the inside of your RV from top to
bottom. If you start with the ceiling, you can clean up any
dirt or dust that gets dislodged as you make your way down. Begin with the
ceiling fans and clean the screens and blades with warm, soapy water. Then
wipe down the ceiling using microfiber cloths and your favorite all-purpose
cleaner. Next, tackle the walls, including your windows, window sills and
screens, and wash your curtains and wipe down your blinds. As the last step,
wash, mop or vacuum your floors, taking care to get into the corners and all
those little crevices.
2. Defrost your freezer and clean your fridge.
As small as they are, RV fridges and freezers still need
purging, cleaning and reorganizing. This is a good time to empty them out
(who knows what you’ll find?) and give them a thorough going over with warm
soapy water or disinfecting wipes. Tossing out what you don’t need and
reorganizing the rest can be pretty satisfying.
3. Tackle those cabinets. Just like
with your fridge, this is a good time to empty your cabinets, wipe down the
insides and reorganize their contents. While you’re at it, take an inventory
of what you have and make a list of what you need to get. Spring cleaning
also gives you a great excuse to get some new clear plastic storage
containers to make it easier to see what you have on hand.
4. Clean your stove and oven. You
might need a little extra elbow grease for this task.  Use an all-purpose cleaner on the stove and oven (or a degreaser,
if necessary) and make a paste of baking soda and water for areas where the
stains are baked on. And don’t forget the knobs and oven racks –
give them a good soaking in warm, soapy water.
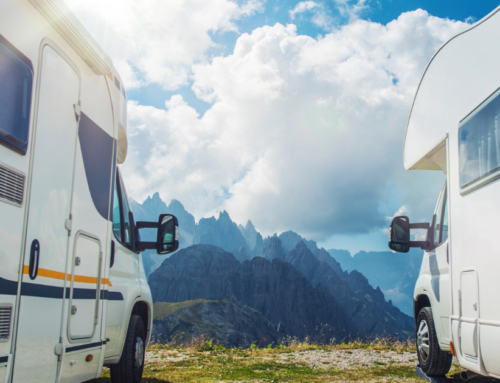
5. Wash (and maybe wax) the outside.
For this tip, we’re going to tell you what
not to do because the
protective gel coat that comes on your RV needs a little extra TLC. First of
all, don’t use dish soap because it can leave a film that can damage the
finish of your RV. Use baby shampoo instead, and add a little white vinegar
to your wash water to minimize water spots. Also, since microfiber cloths and
brushes might scratch the finish, use a soft cotton cloth or lambswool pad or
mitt, instead. Finally, if your RV is a bit older and has lost that
fresh-from-the-factory shine, add a coat of floor wax to polish it up and
you’ll be ready to hit the road again.
Photos provided by
pixabay.com and pexels.com